A perfect screed? Impossible without appropriate curing, drying and protection
To reduce the risk of screed and floor failure, a screeding contractor should take all the necessary precautions for protecting, curing, and drying screeds. The purpose of these precautions is to ensure that the moisture and thermal conditions remain within the ideal values recommended by the British Standards, until the screed dries out completely.
Screed curing
Curing of screed implies providing adequate temperature and moisture conditions for a certain period of time, typically required by screeds to dry out and develop certain characteristics, such as strength and durability. For the best results, curing must be initiated immediately after the installation of screeds.
A notable aspect is that screeds have a so-called “curing zone” that, depending on the screed thickness, ranges from 5mm to 15mm in depth, below the surface. The end use of the screed along with air or liquid permeability, and the initial degree of hydration and surface absorption are all factors that influence screed curing and drying times. Screed curling and cracking can occur if the requirements relating to curing times and ambient conditions are not followed.
Polythene sheets may be required to cure the screed and stop a fast surface evaporation, which can lead to a weaker construction. Some proprietary screed systems have a controlled drying process and do not require polythene cure.
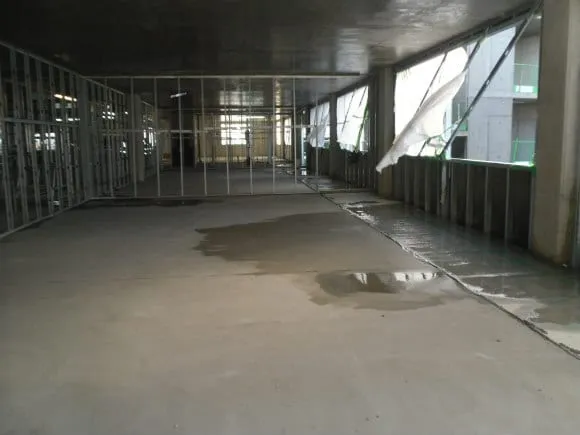
Screed protection
After taking all the effort, time, and skill to lay a perfectly flat screed, you could still score an own goal if it is not properly protected from ambient weather conditions and construction traffic before laying the final floor finish. Although mixture constituents, including admixtures, additives, and resins, usually contribute to the curing and drying potential of the screed, appropriate protection must be planned and applied to all installed screeds.
There are two levels of screed protection. The first refers to covering fresh screeds with polyethylene sheets, which prevent screed degradation due to improper ambient weather conditions. Special attention should be paid to screed surface sheen; as soon as surface sheen disappears, the screed will start to shrink and dry. The second is to protect the screed from all impact and wear until the floor finish is installed. Your screeding contractor will be able to offer guidance for when light-foot and loading can proceed.
Screed drying
We cannot emphasise strongly enough how important it is to adhere to screed drying times. It is tempting to assume that dry-to-the-touch means dry enough to lay a floor, but the consequences of ignoring drying times can be distressing and expensive for your client.
Screeds take approximately 1 day per mm to dry up to 40mm, and 2 days for every mm over 40 mm; 110 days is the norm for standard screeds of 75mm to dry completely. The time a screed takes to dry completely is usually measured when the screed reaches 75 percent relative humidity. To speed up construction, a variety of fast-drying screeds have been formulated. These screeds can dry in as little as three days.
Combining extensive experience in screeding with top under-floor heating solutions, the professional team working at BuilderScreed is able to recommend the most appropriate screeds for any construction project and ensure that the right instructions are followed, in a gradual manner, with a focus on achieving superior performance and the best outcomes.
To find out more about screed protection, curing, and drying, or to hire a team of professional, reliable screeders, who have the technical knowledge and expertise needed to meet virtually any project requirements, we invite you to contact us at BuilderScreed.
BuilderScreed is a division of CSCScreeding Ltd.