
Will he have air bubbles?
Air bubbles are some of the most common complaints relating to vinyl flooring. Although bubbles can be removed by puncturing or cutting the vinyl to release the air trapped underneath, these repair methods can leave behind visible signs, which will make your floor look unsightly. .
Since we know how annoying it is to look at a less-than-perfect floor, we will help you get the job done right the first time and prevent vinyl from developing bubbles. Before you start your project, you should know that bubbles form when:
- vinyl is overstretched – in this case, the vinyl sheet will curl and form bubbles, as it tries to return to its original shape and size;
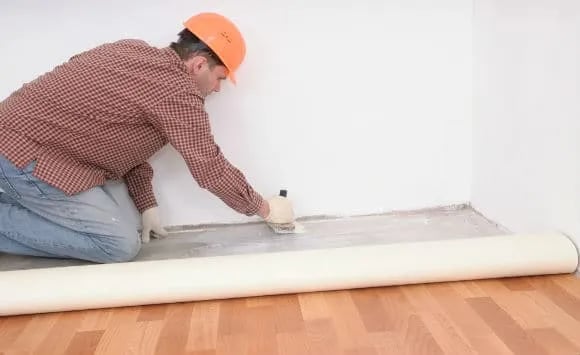
- pockets of air are trapped between the vinyl and the surface beneath it – this happens with glueless vinyl flooring, especially when the floor is installed without using a roller to flatten the surface;
- the wrong type of adhesive is used – the adhesive needs to be the compatible with the vinyl to have identical expansion and contraction characteristics;
- the screeded area is still damp – residual moisture rises up, accumulating under vinyl flooring and causing bubbles.
Among all these, moisture is by far the most serious issue causing the vinyl to bubble. This is because bubbles will continue to appear until residual dampness is completely eliminated.
How to Avoid Vinyl Bubbling due to Residual Moisture
The best way to prevent vinyl bubbles from forming is to allow the screed to dry optimally before installing the final floor. To make sure that the screed is dry and ready to take on vinyl flooring, you should:
Ask for a moisture assessment test
Since the screed drying time varies according to the ambient conditions along with the type of admixtures and aggregates used, it is almost impossible to predict the drying time accurately. To ensure that the screed is completely dry, the screeding contractor should carry out a moisture assessment before the installation of vinyl flooring. Two commonly used tests are the calcium carbide test and Tramex.
The calcium carbide test delivers the most accurate method to determine the moisture content of screeds. The method consists in placing a small sample of screed along with calcium carbide in a sealed container. The moisture within the sample will react with calcium carbide, producing acetylene gas. The pressure exerted by the gas is measured with a pressure gauge. Then, the screeder can use the readings from the gauge to calculate the exact amount of moisture present in screeds.

Pressure indicates moisture levels
Tramex meters can be used to determine surface moisture instantly. Although this method is more convenient than the calcium carbide test, it is less accurate. When necessary, the readings from Tramex meters can be verified with the calcium carbide test.
Determining the exact amount of moisture in screeds is critical because high moisture content impacts the quality of screeds and plays a major role in screed failure. Additionally, excess moisture may travel to the surface, affecting the final floor.
Ask the screeder to use a damp-proof membrane
Damp-proof membranes laid on top of the concrete slab deliver one of the best ways to protect vinyl flooring from moisture. These membranes form an effective barrier that prevents the residual moisture from rising and causing different problems, including mould growth, musty smells, buckling floors, and blisters on the vinyl surface.
For more information about how to get a perfect floor, contact us at HomeScreed. Our experts are here, ready to answer any questions you may have regarding the most appropriate type of screed for your project and the best methods for assessing screed moisture content.
To find out more about how to get the best screed for your home, download our free guide “Essential guide to the perfectly screeded floor”
HomeScreed is a division of CSC Screeding Ltd