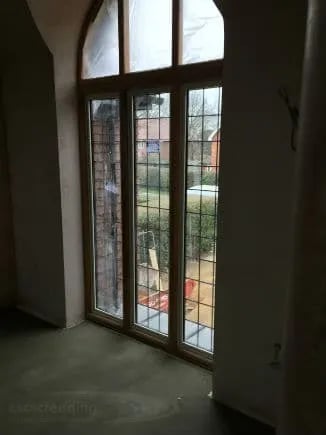
A decent sized quality new build – screeded by HomeScreed
Screeding a floor is something that even an inexperienced home owner can do, right? Wrong. Although applying a layer of screed may seem like a very simple task, a series of problems may arise when trying to get a perfect screed. Here are the most important aspects to consider when laying screeds.
1. The right screed mix and mixing techniques
To get the right screed formulations, cement, aggregates, admixtures, and additives must be used in the right proportions and mixed with water homogeneously, as per the mix design specified. Although considered appropriate for small home improvement projects, hand mixing should be avoided because it usually delivers low-quality screeds. Conversely, forced-action mixing not only is more efficient, but also produces high-quality screeds, with high strength and durability indices. Certain types of forced-action mixers, such as pan mixers and screed pumps, are the best options to get homogeneous screeds.
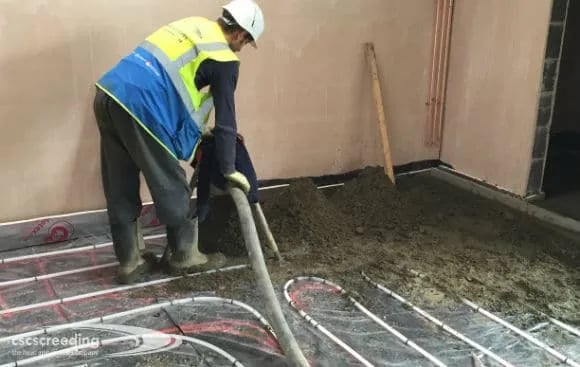
And we are off! Floor Screeding begins.
2. Installing screeds correctly
The installation of screeds begins with a detailed assessment of the concrete slab, which must be prepared to receive the screed. Also, the concrete base should be set to a level for screeders to be able to adhere to the minimum or maximum thickness specified for the screed. Then, the screed must be installed, as per project instructions.
3. Testing screed level and surface regularity
Most screeders use modern electronic devices (e.g. laser levels) to assess the depth and level of screeds. Surface regularity can be assessed with a 2m straight edge, placed on the floor. If the screed is not perfectly flat, floor-levelling compounds can help achieve a finer tolerance and get the right surface finish for the final floor.
4. Allowing screeds to dry properly
Residual moisture is one of the prime culprits for floor failures. However, when tight deadlines must be met, most home owners require flooring contractors to lay the final floor before screeds dry properly and develop the final strength. To avoid a series of flooring problems, such as floor debonding, bubbling, buckling, squeaking, and mould growth, it is important to know that standard drying times range from 110 days for traditional screeds and 80 days for anhydrite screeds to as little as 3 days for fast-drying screeds.
5. Protecting the screed
Typically, light-foot traffic can proceed as early as 12, 24, or 48 hours after the installation of screeds. However, all screeds must be protected from excessive traffic and direct impact until they develop the final strength and the final floor covering is installed.
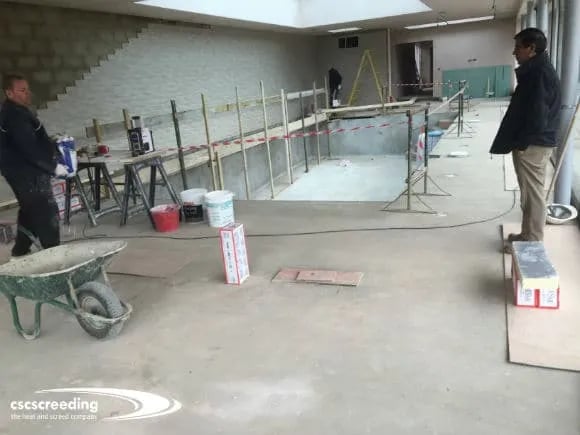
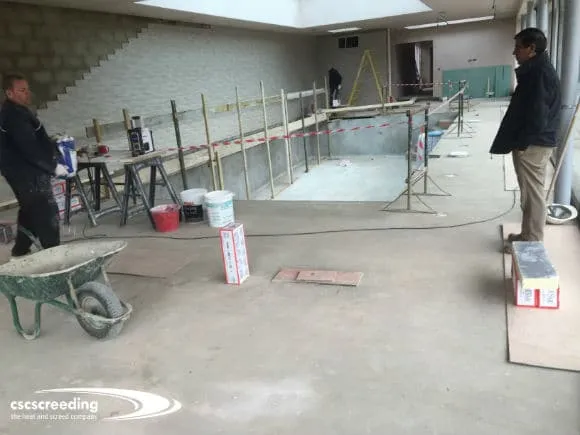
Floor screeding around a pool – is the protection adequate?
At HomeScreed, we are specialists in all kinds of screeds. Therefore, we can help you find out more about screed mixing, installation, levelling, drying, and protection. For additional information, we also invite you to get your free copy of our “Essential guide to the perfectly screeded floor“.
HomeScreed is a division on CSC Screeding Ltd